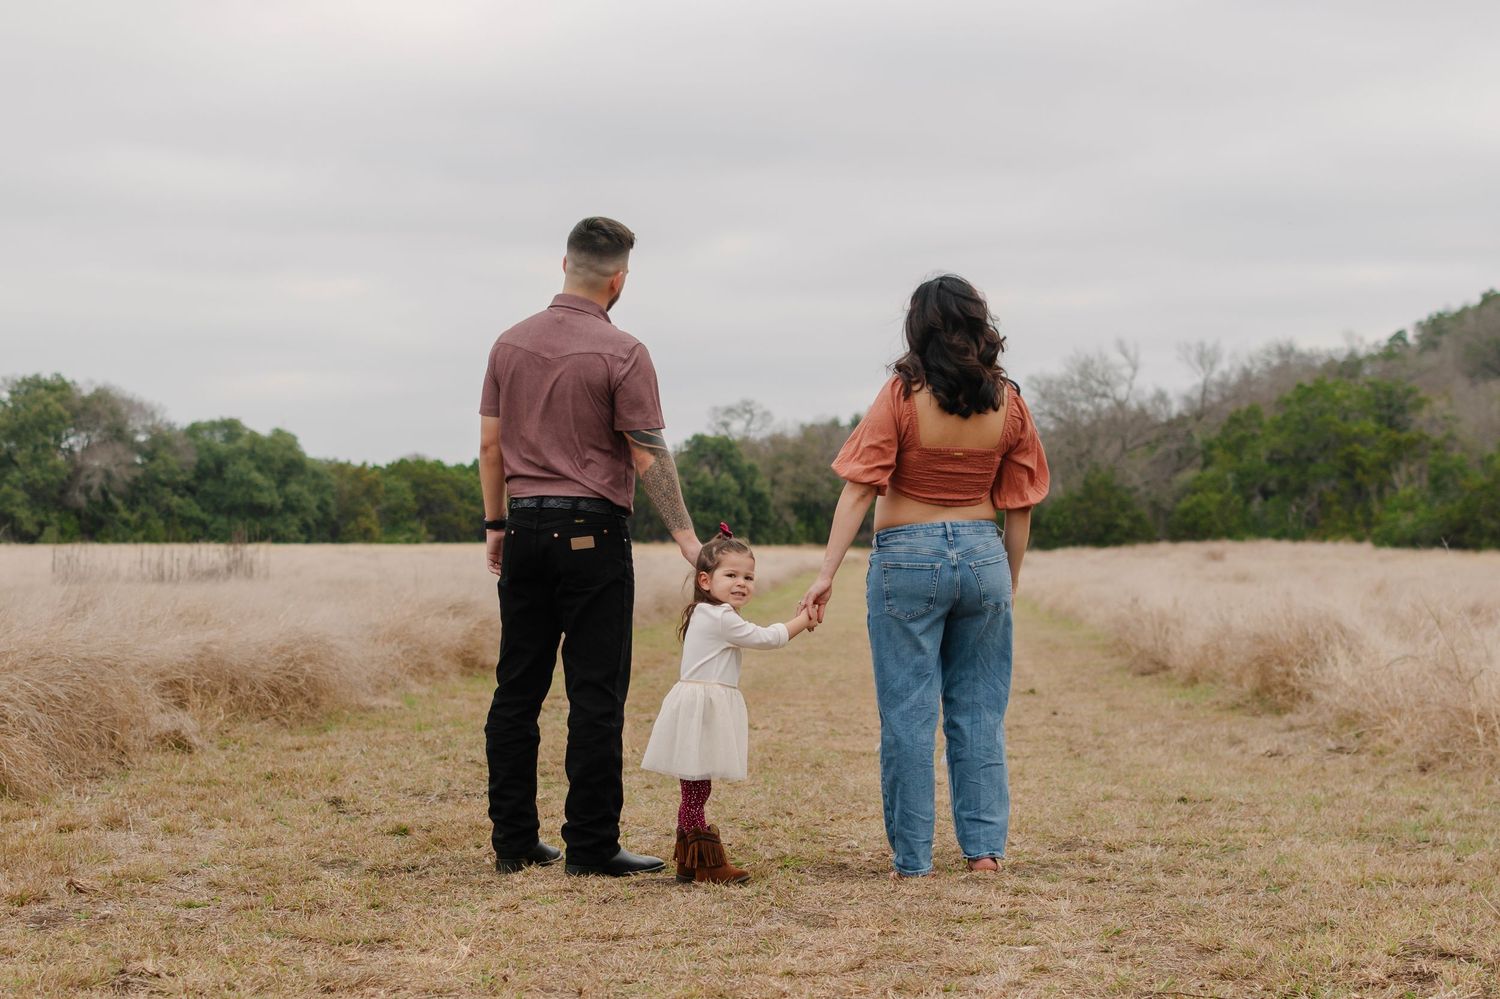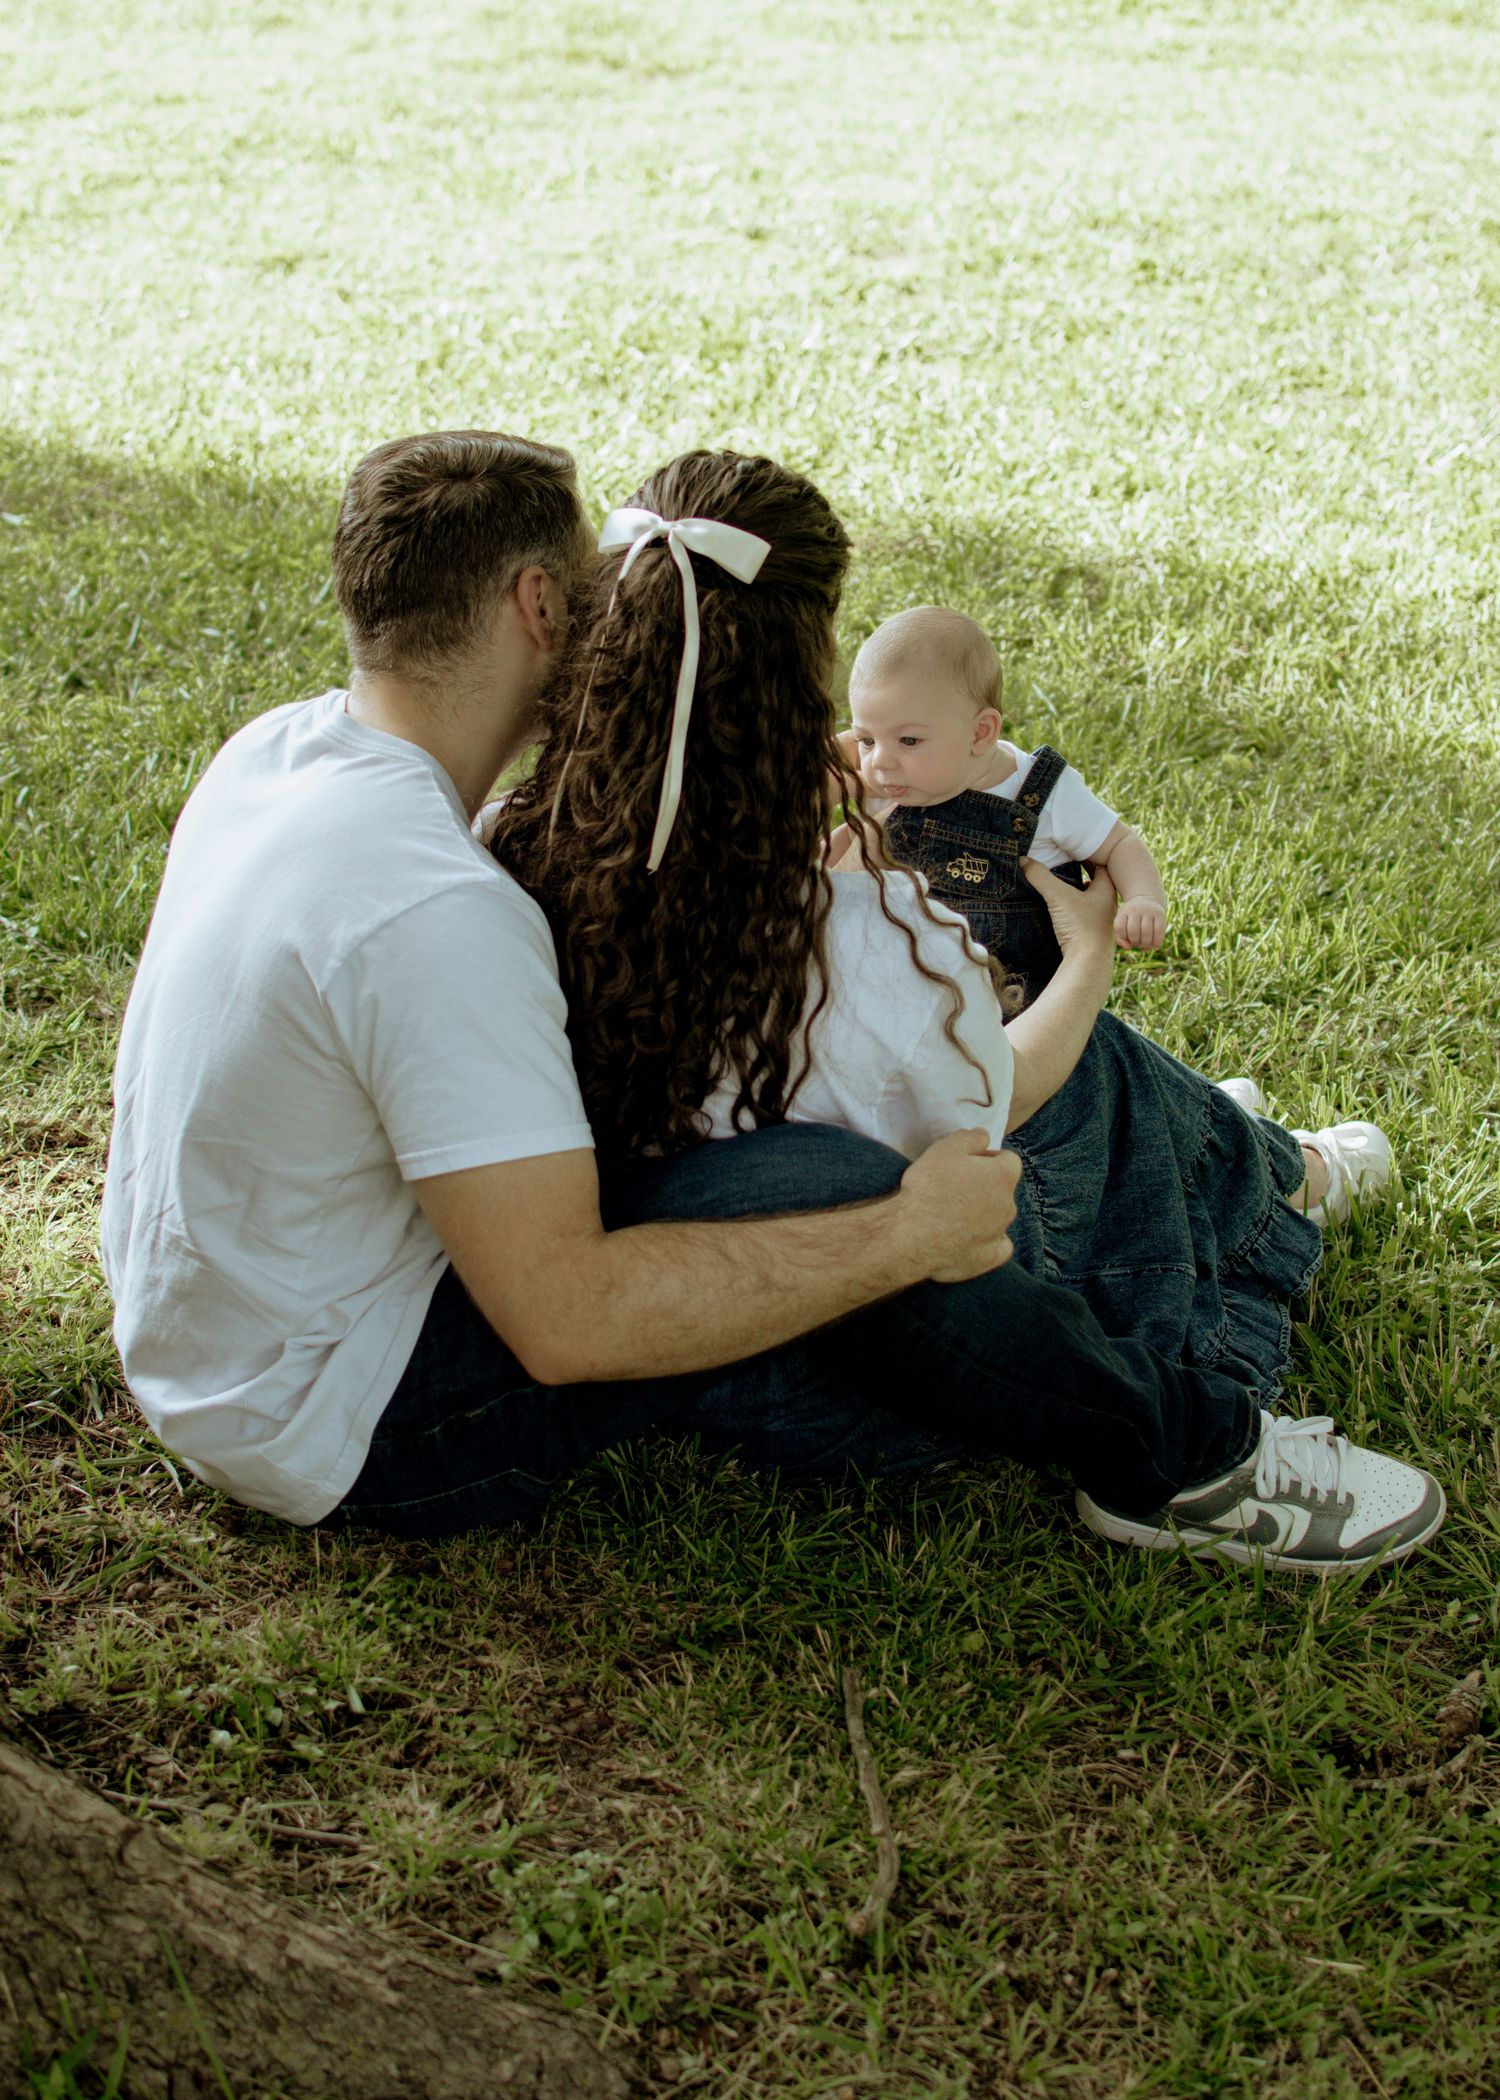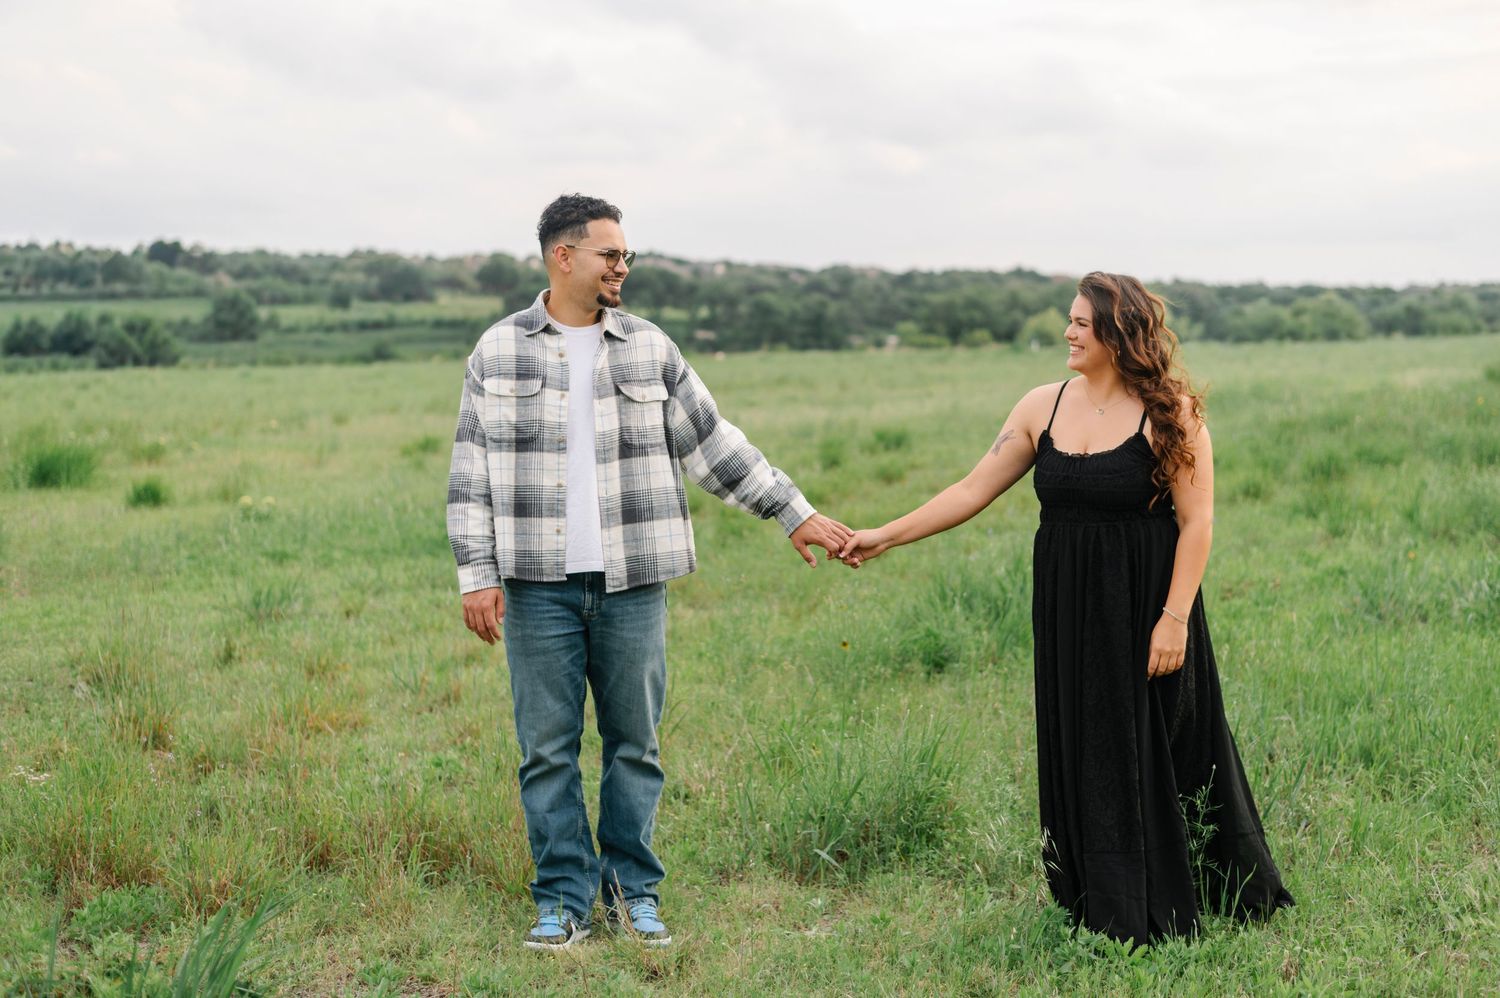
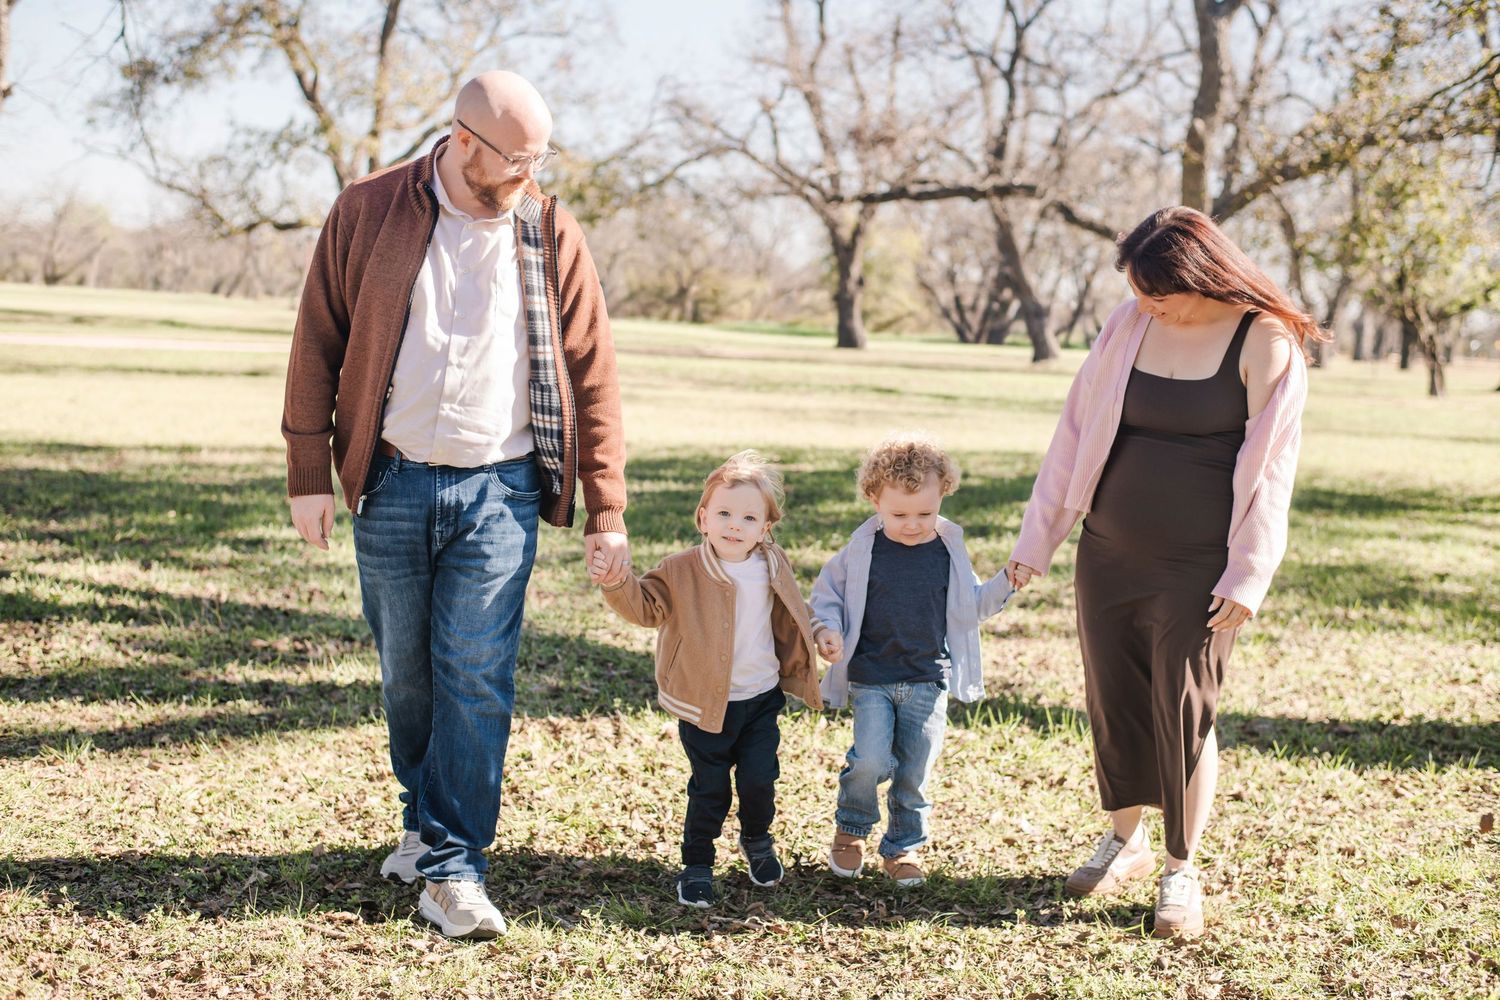
Summer family photos in the Austin and Leander area are some of the most beautiful sessions of the year from the golden light, warm evenings, and that relaxed energy that comes with summer. But they also take a little more planning than a quick fall session. Between the Texas heat, the logistics of getting everyone ready, and the general chaos of wrangling kids out the door looking put-together, a little preparation makes an enormous difference.
This is everything you need to know, from the moment you book all the way to the moment you show up on location.
Step One: Book Early and Plan Around Timing
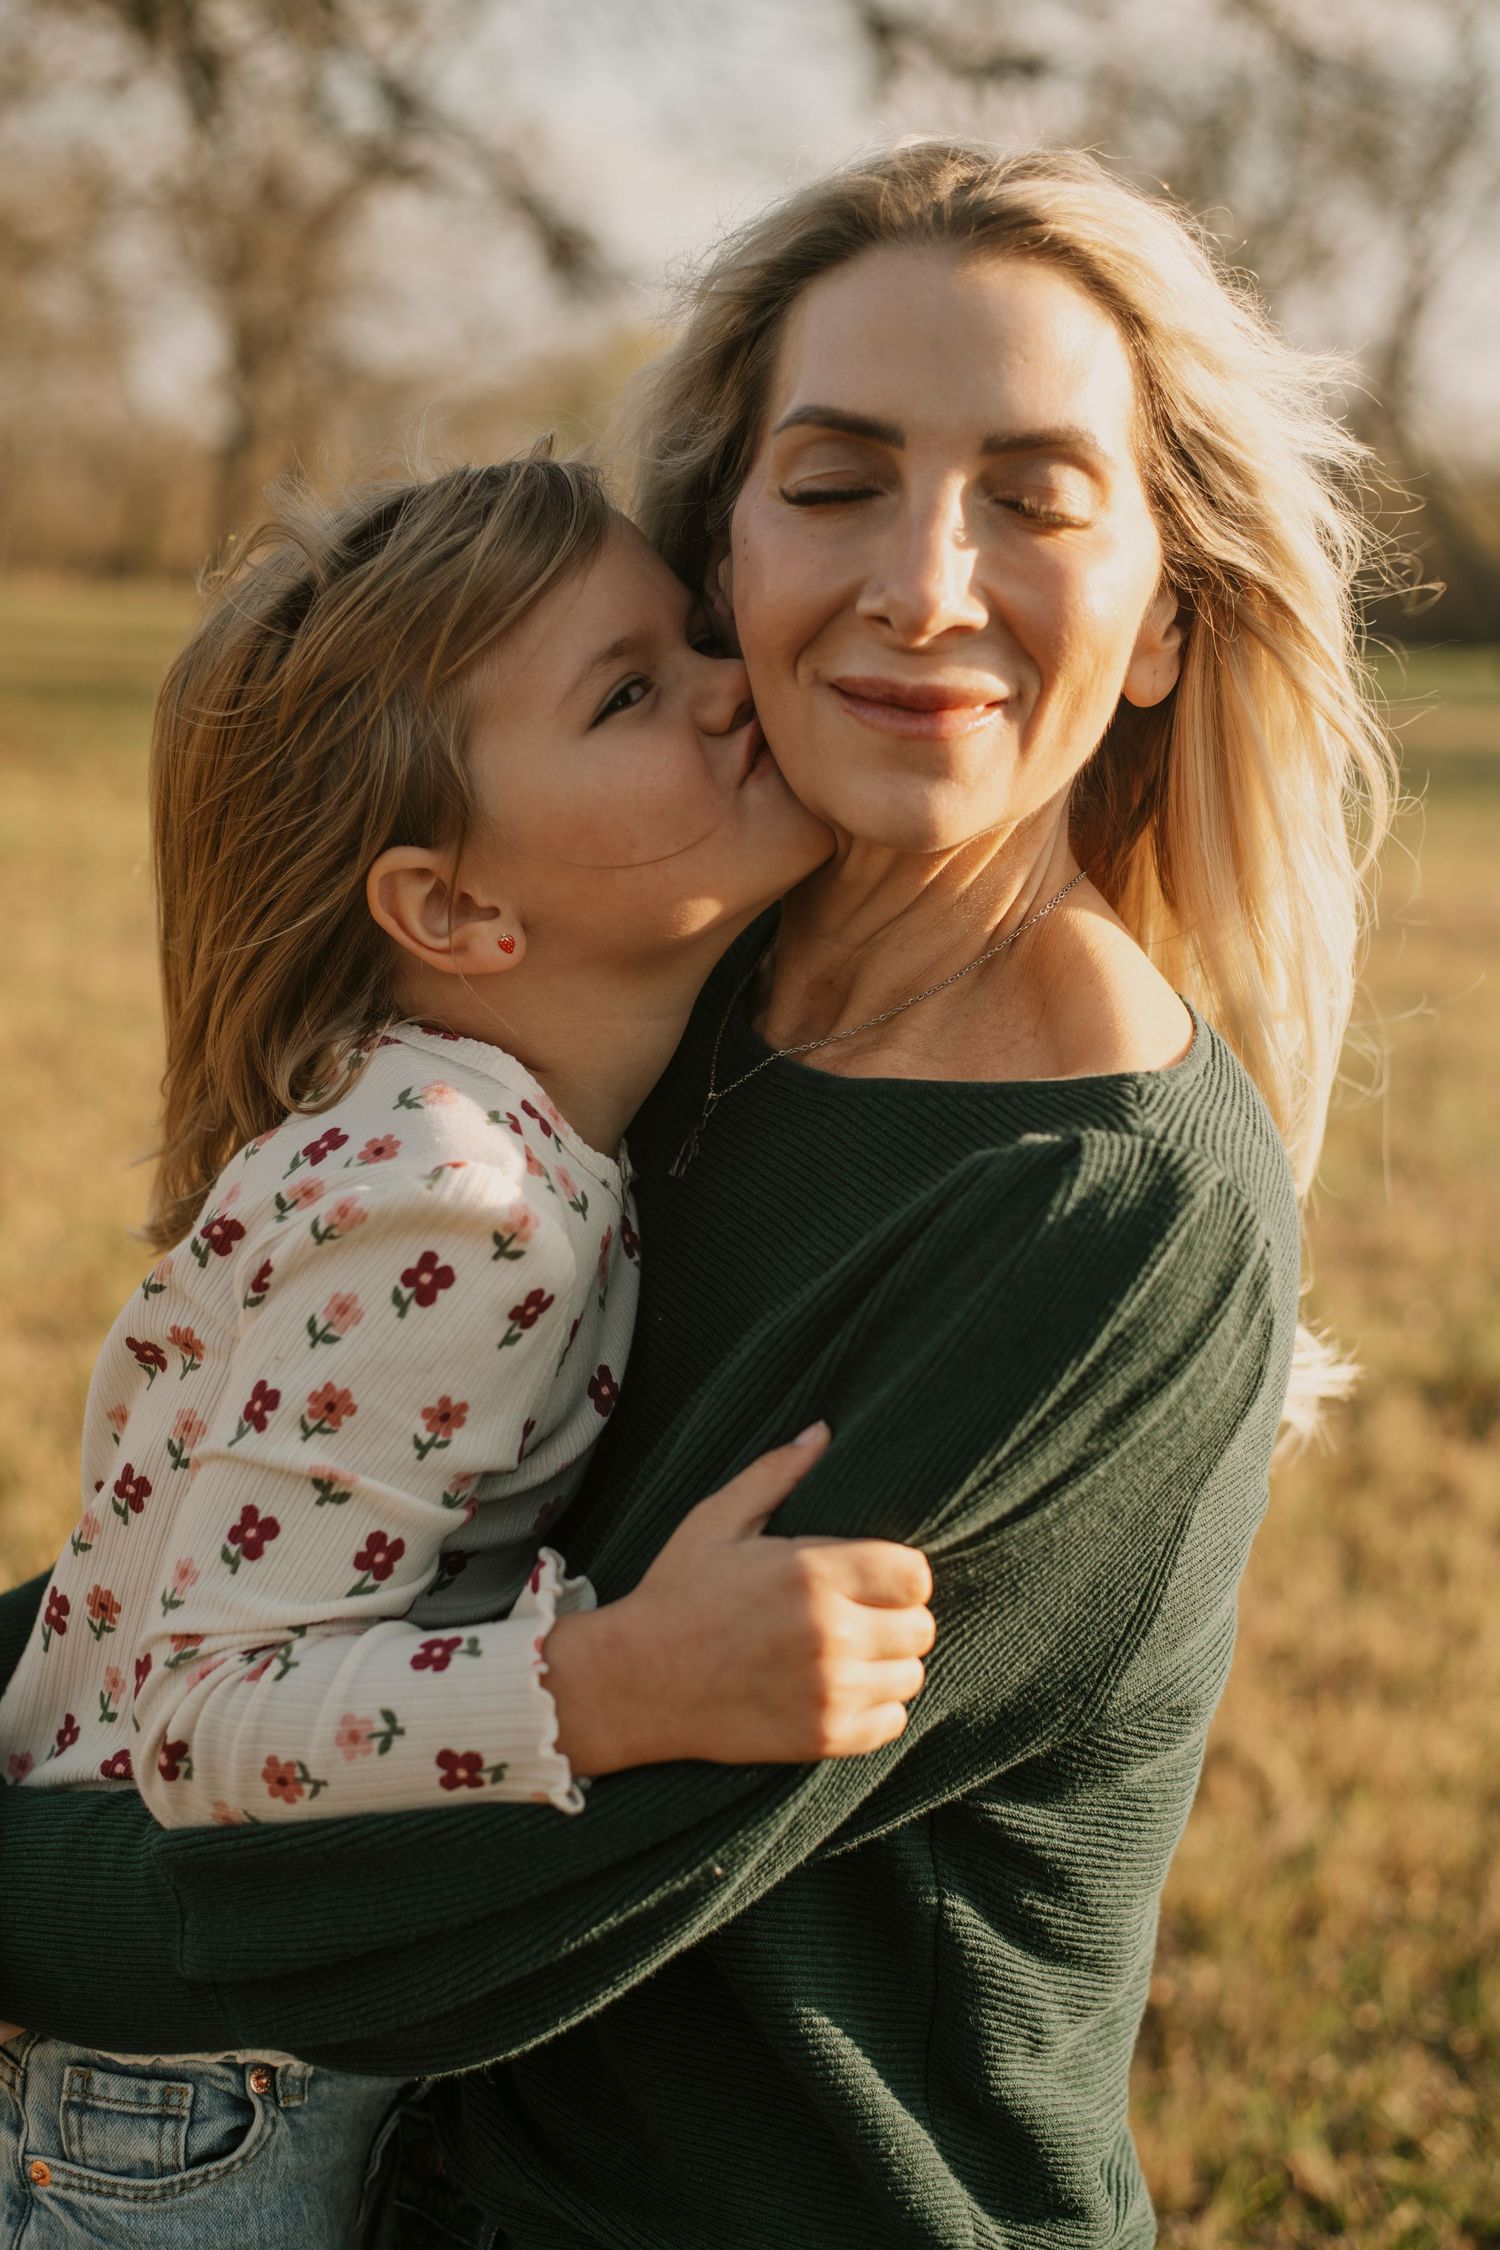
Summer fills up faster than any other season. If you're thinking about summer photos, reach out at least 6–8 weeks in advance. Golden hour sessions (the hour or so before sunset) are limited to one or two per evening, and those spots go first.
For Central Texas summers, timing your session is critical. Shooting in full afternoon sun is not comfortable for anyone, and it doesn't photograph well either. Harsh midday light creates unflattering shadows and squinting. Golden hour, which typically starting around 7:30–8pm in June and July, is when everything comes alive. The light is soft, warm, and forgiving, the heat has started to break, and everyone is more comfortable.
When you're deciding on your session date, also think about your family's schedule that day. Don't plan a big activity right before photos. The day of your session should be as calm as possible so no birthday parties, no full days at the pool, nothing that will leave the kids overtired or overstimulated before we even start.
Step Two: Choose Your Location with Intention
The Austin and Leander area has incredible variety, and your location should feel like it belongs to your family, not like a generic backdrop anyone could use. Think about where your family actually spends time. Do you love being near the water? Grassy open fields? The tree-lined trails around Leander? A spot with meaning produces images with more emotion than a beautiful location that means nothing to you.
Once you share your vision with me, I scout the location ahead of time to map out the best light, the cleanest angles, and the most flattering spots. You'll never show up to a session and wander around figuring out where to stand.
Insider tip: The direction a location faces matters more than most people realize. A spot that faces west photographs beautifully at golden hour — you're lit from the front and the light is warm and soft. A spot that faces east at sunset means you're backlit — which can be gorgeous but is a completely different look. When scouting or choosing a location, ask your photographer what direction the main areas face.
Step Three: Outfits — Plan These First, Before Anything Else
Outfit planning is where most families wait too long and stress themselves out. Give yourself at least two weeks before your session to nail this down. Here's the process that works:
Start with one anchor piece. Usually this is mom's outfit or a daughter's dress, something with a pattern or a color you love. Pull 2–3 colors from that piece and build everyone else's outfits around those colors. You don't all wear every color, you just all connect back to the same palette.
Coordinate, don't match. Everyone in the exact same outfit looks stiff and dated. Everyone in outfits that share a color family looks intentional and cohesive. Mix patterns and solids. Let each person's personality show.
For Texas summer specifically: Linen and lightweight cotton are your best friends. Breathable, soft, and they photograph beautifully. Avoid heavy fabrics, thick knits, or anything synthetic that traps heat. A miserable, sweaty family shows in photos.
Colors that work well in Central Texas summer light: Warm neutrals (cream, tan, terracotta, dusty rose), soft blues, sage green, warm white. Muted tones photograph better than saturated brights, and they keep the focus on faces, not fabric.
What to avoid: Bright white (blows out in outdoor light so choose cream instead), large graphic logos, neon colors (they reflect onto skin), thin stripes or tight plaids (cause visual distortion in photos), and athletic or quick-dry fabrics.
Try everything on at least a week before your session. Not the night before. Try it on, move around in it, sit down in it. Discover that something itches or doesn't fit the way you thought, while there's still time to fix it.
Insider tip: Lay all the outfits flat on a white surface together before your session and take a photo. Step back and look at the whole group. If one item immediately catches your eye or feels off, it needs to be swapped. This trick saves so many sessions.
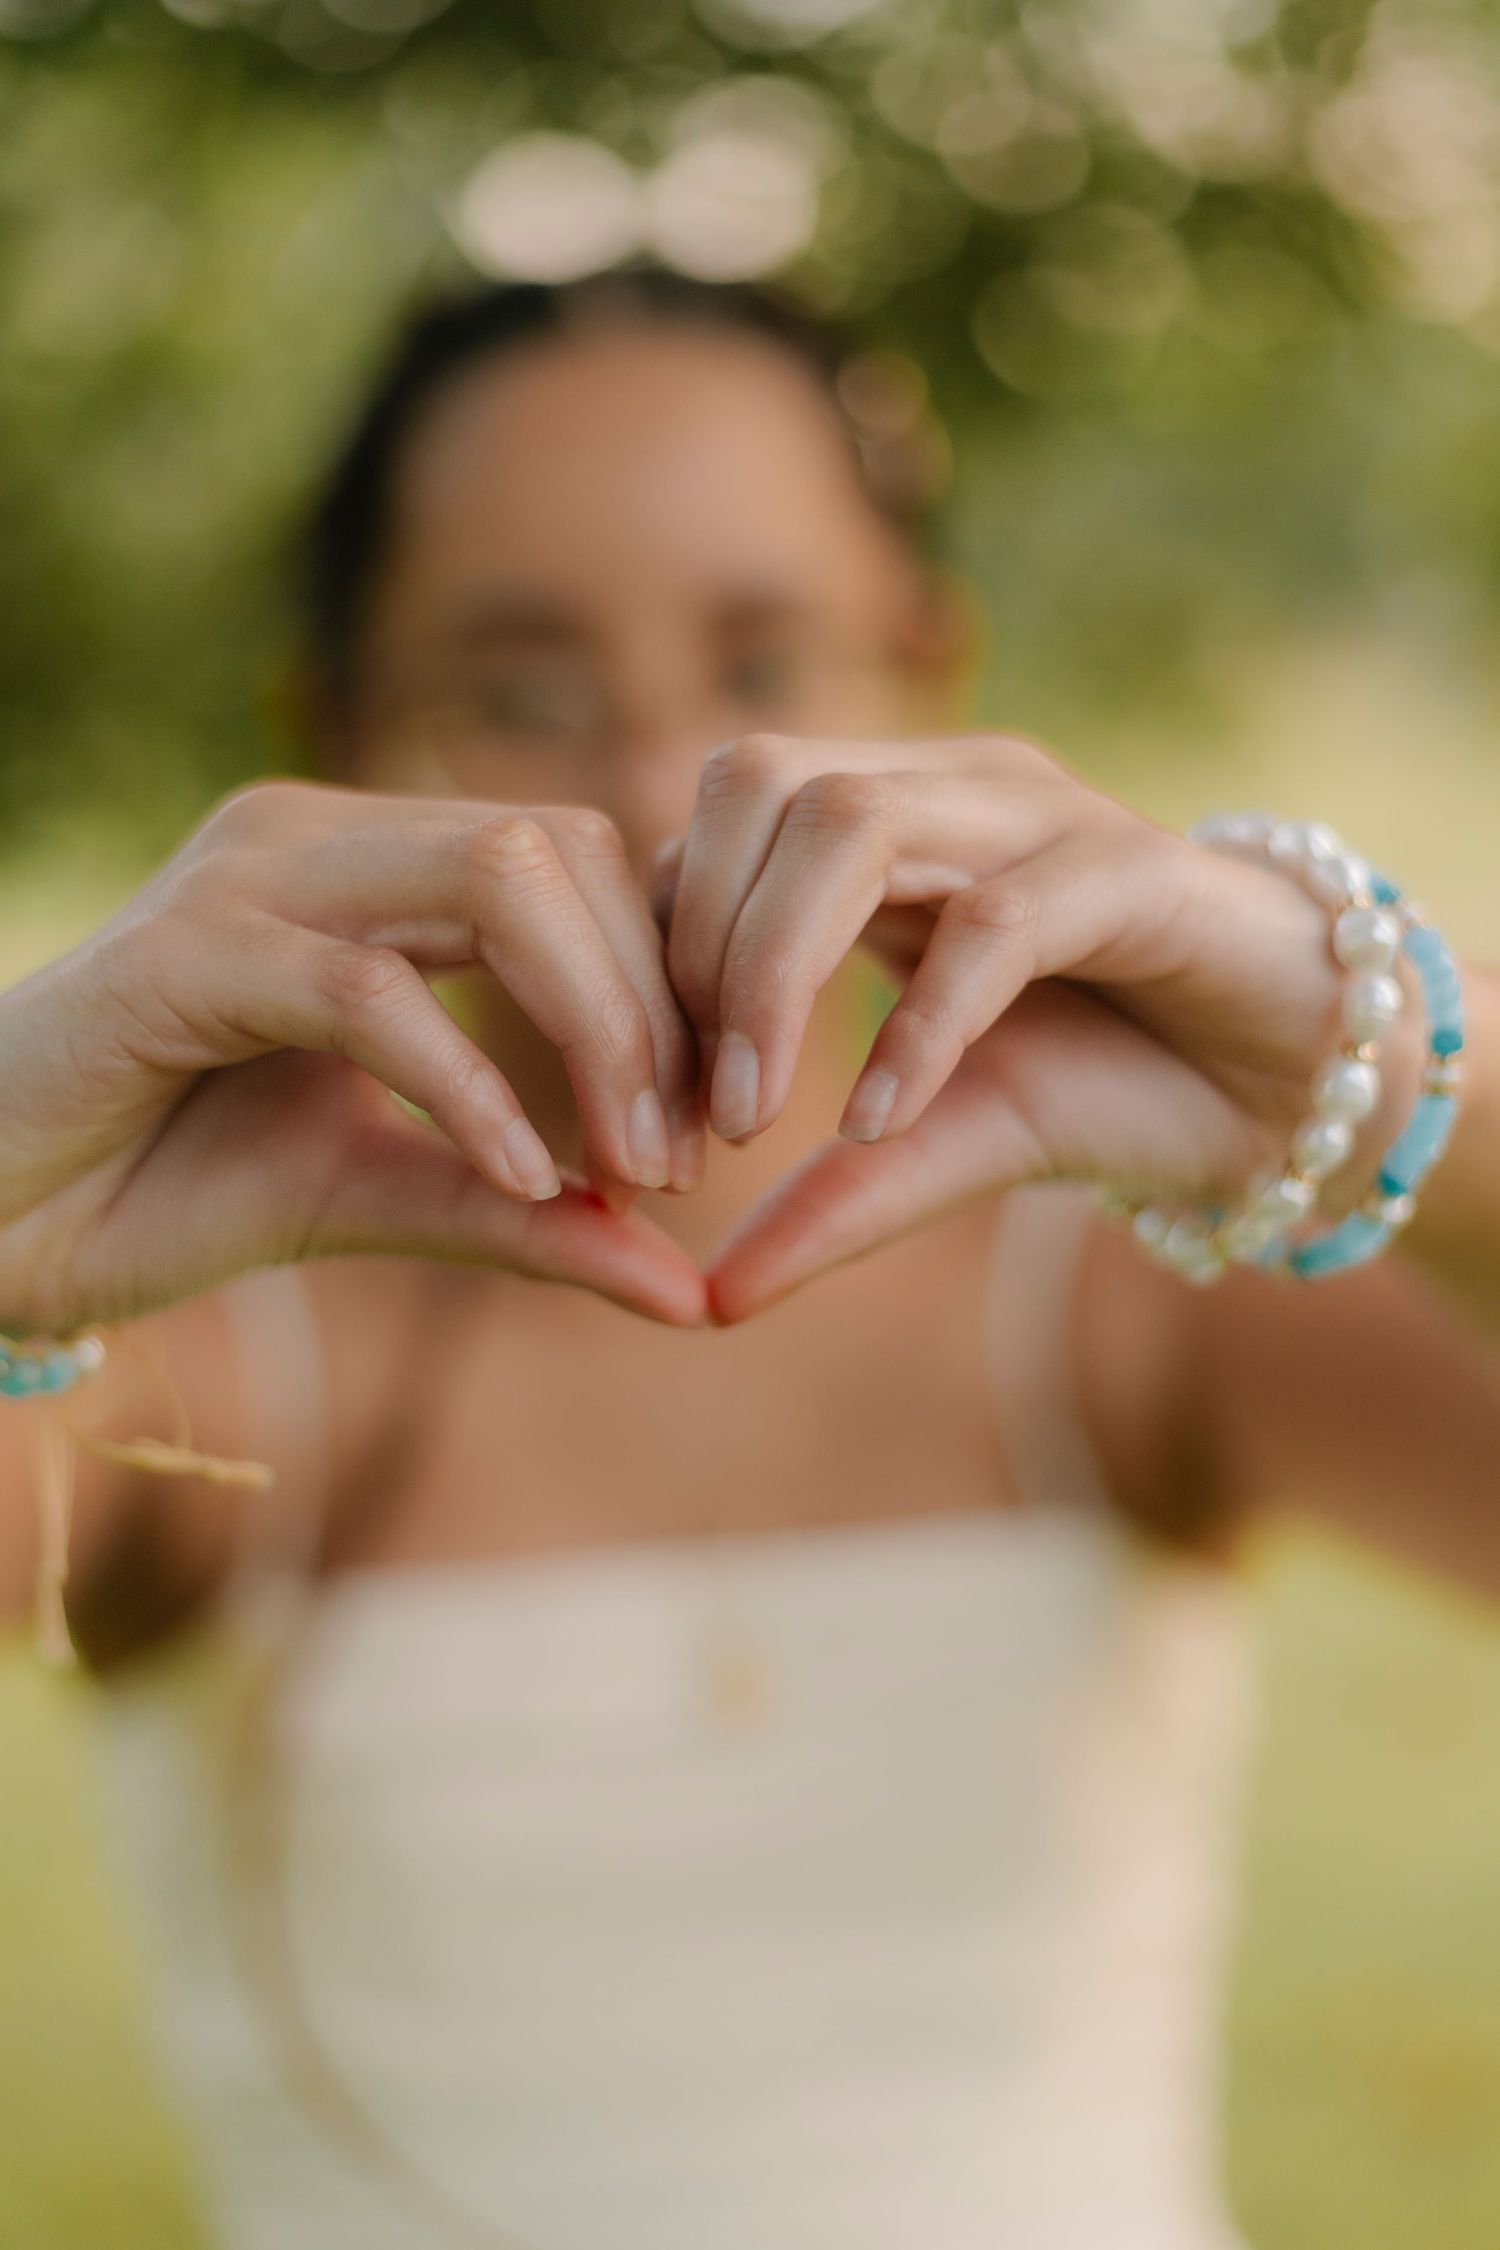
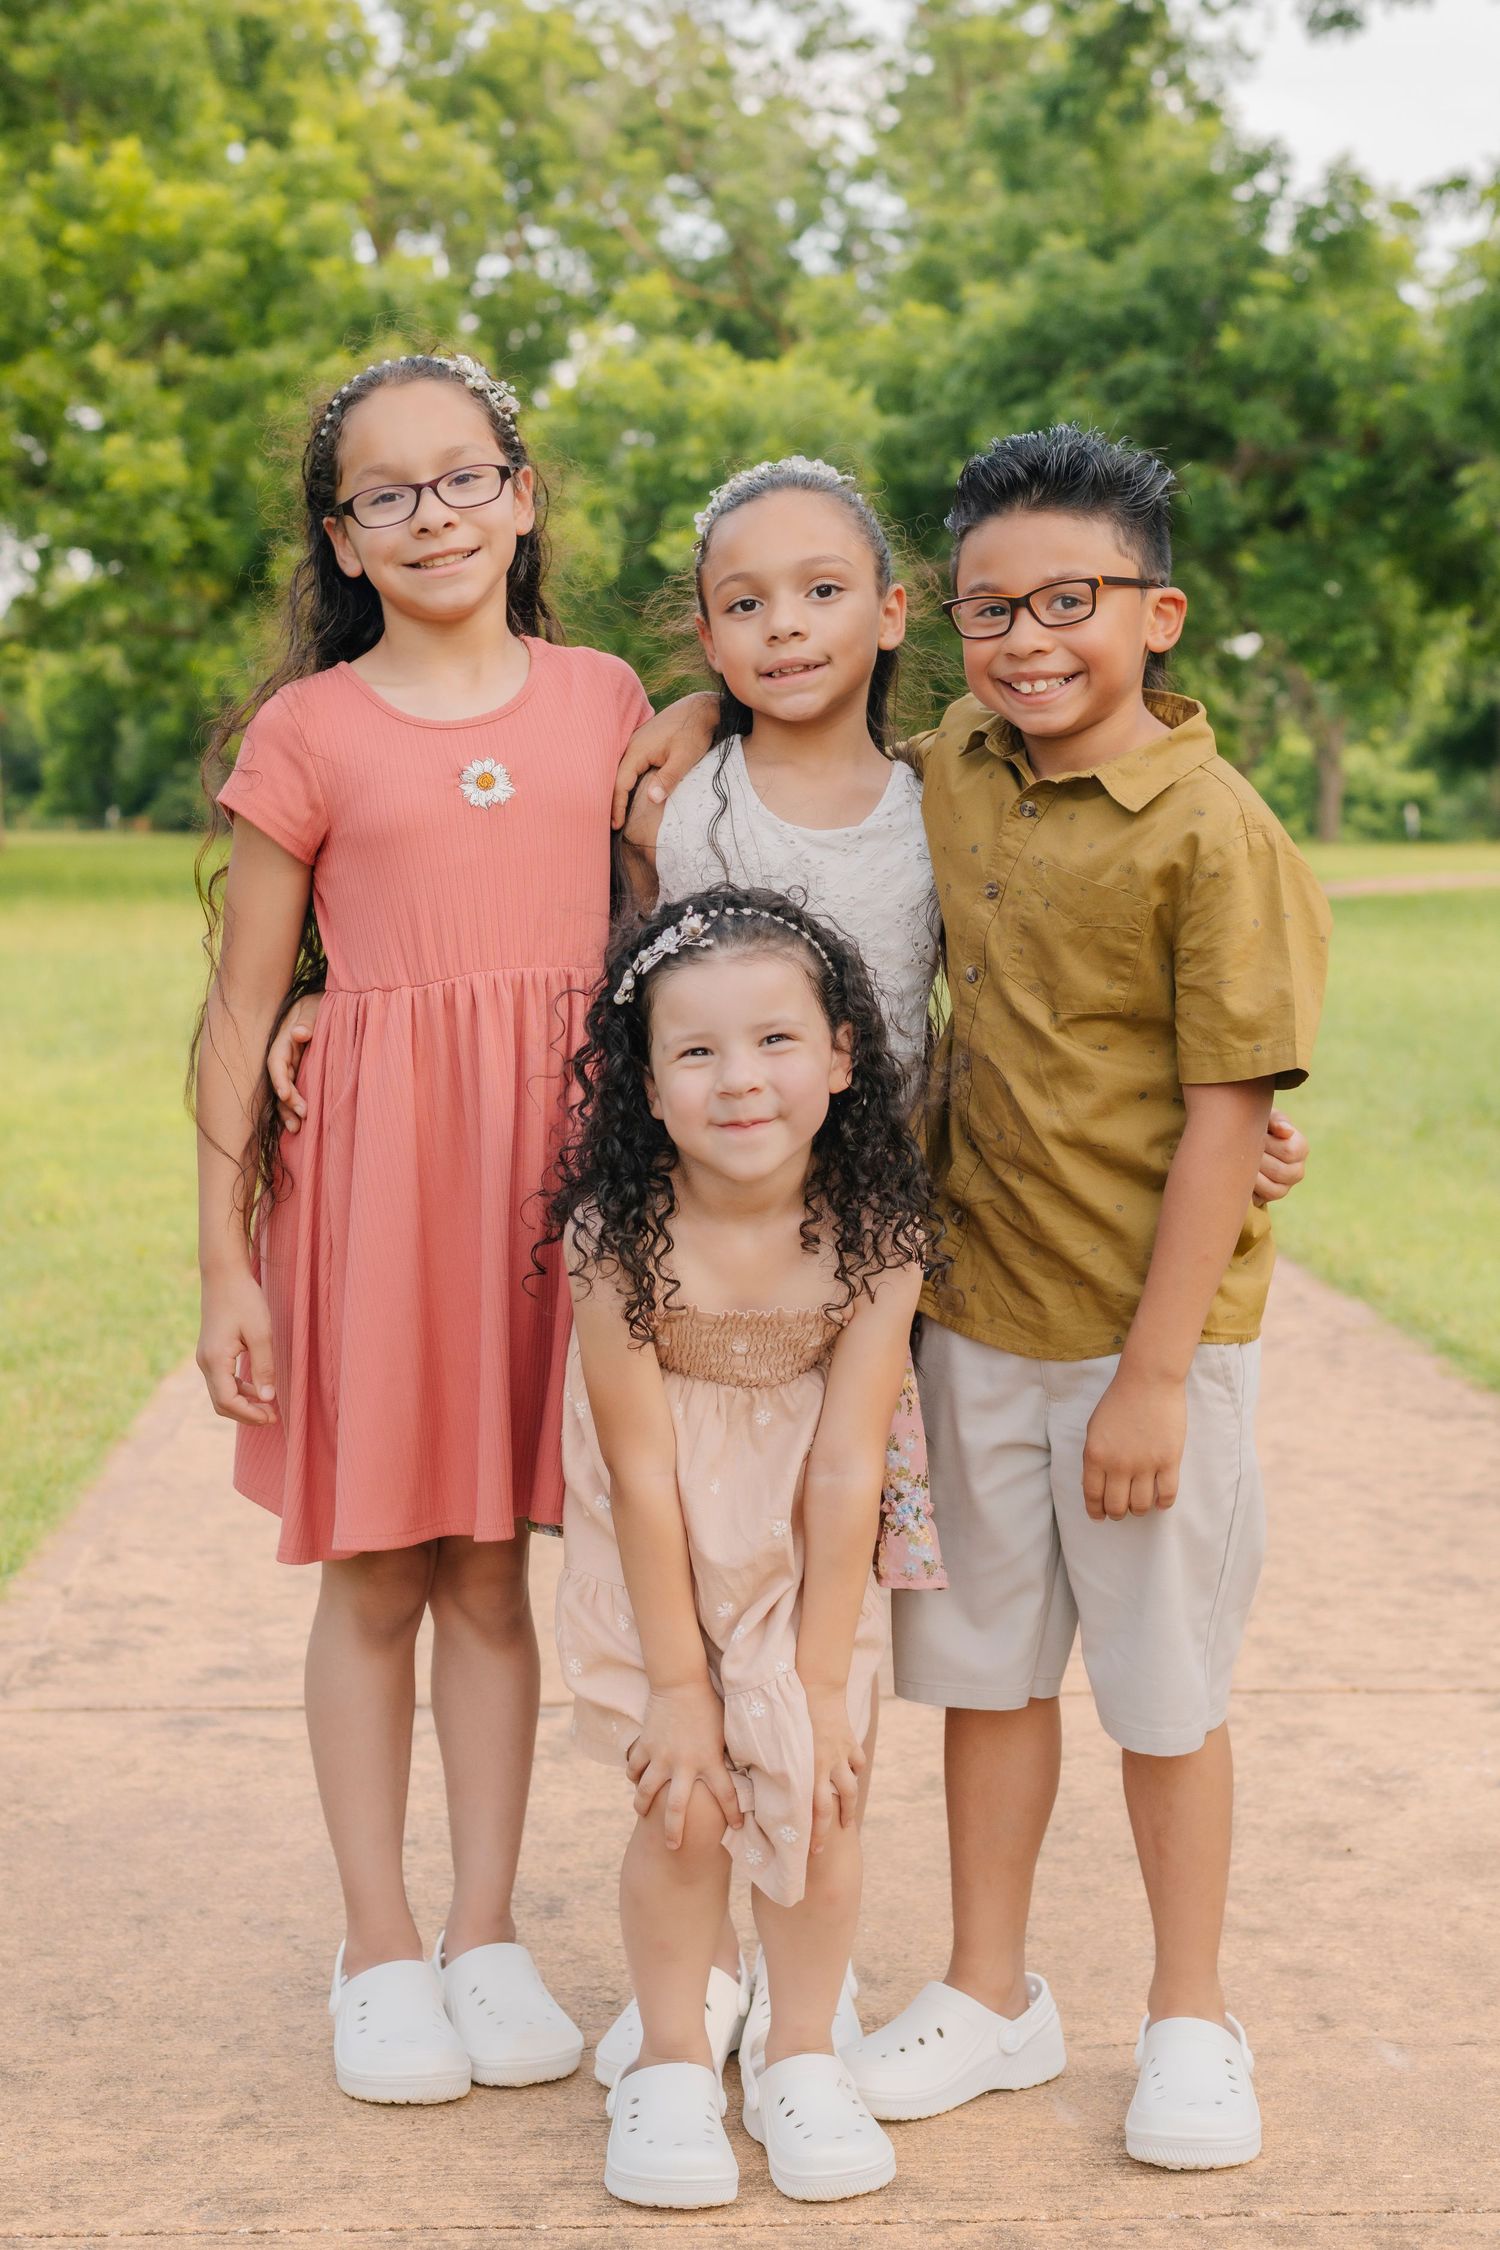

Step Four: Get the Kids On Board (Without Making It a Big Deal)
This is the most common anxiety before a session, and it's almost always handled the wrong way.
Don't hype it up for weeks. Telling kids repeatedly how important the session is and how they need to behave creates performance anxiety — in them and in you. For most kids, mention it a day or two before. Keep it simple: "We're going outside to play together and someone is going to take pictures of us." That's it.
Let them help with something. Let kids pick a prop to bring, or give them a choice between two outfit options. Having some ownership of the process makes them more invested in showing up.
Frame it as an adventure, not a task. "We're going to this cool spot by the water" lands very differently than "We're taking family photos." One is something they want to do. The other sounds like a chore.
Plan something fun for after. Don't tell them it's a reward for good behavior — just let them know there's ice cream or a treat coming. It gives the whole outing a positive finish line.
Insider tip: Don't dress the kids at home if you can avoid it. Dress them right before the session or on location. The amount of damage a child can do to an outfit between the house and the car is genuinely impressive.
Step Five: The Day-Of Logistics
This is where sessions succeed or fall apart. Here's what to have dialed in:
Build in a buffer. Give yourself 20–30 extra minutes before the session start time. Rushing kids to a photo session and then expecting them to be relaxed and happy is not realistic. Feed everyone before you come. Not a snack, but a real meal or a full snack. Hungry kids are non-negotiable. But avoid anything that stains easily right before photos (berries, tomato sauce, juice boxes). Apply sunscreen and bug spray before you get dressed. Not after or you'll get it on the outfits. Spray bug spray on skin, not on clothes, and give it a few minutes to absorb before putting on anything light-colored.
What to pack in a backpack (not a tote bag as backpacks are easier for me to carry during the session if needed):
- Non-messy snacks for mid-session pickup (puffs, dried fruit, a granola bar)
- Water bottles
- Baby wipes
- A small lovey or comfort item for littles
- Extra outfit or diaper cover for babies/toddlers
- Stain remover pen
- Kleenex
Insider Tips Most People Don't Know
- These are the things I wish every family knew before showing up:
- The first 10–15 minutes are always the hardest. Kids are warming up, everyone is still self-conscious, nobody knows quite where to stand yet. Don't judge the whole session by the first few minutes. Once we get moving and everyone loosens up, the images change dramatically.
- Looking at each other is almost always better than looking at the camera. Some of the most beautiful family images happen when you forget I'm there and just interact with each other. Tickle your kid. Whisper something to your partner. Look at your child instead of at me. I'll catch it.
- Transitions are where the magic happens. The walk from one spot to another, adjusting how you're standing, laughing at something that went wrong — these in-between moments often produce the most natural images of the whole session. I'm always shooting, even when it doesn't feel like a "pose."
- Let your kids move. A child who is free to run, spin, chase, and explore is a happy child. A happy child is a photographable child. Don't spend the session holding them still.
- Your energy sets the temperature. If you arrive tense and stressed, the kids will mirror it. If you arrive relaxed and excited, they will too. Take a deep breath on the drive over. The session is going to be fine.
- Glasses and transitional lenses: If anyone wears glasses with transitional/photochromic lenses, they will darken significantly outdoors. Plan to swap to clear glasses or go without for photos if possible.
- The best photos of you come from a slightly elevated angle. I naturally shoot in a way that's flattering — from straight on or slightly above — but if there are angles you're not comfortable with, tell me before we start. I'd rather know upfront so I can keep you feeling confident throughout.